
Ever stand over a hot stove dodging grease splatters while trying to flip bacon strips that curl up like tiny scrolls? There’s actually a much easier way to cook bacon that doesn’t involve playing defense against flying grease. The trick is using your oven, but not the way most people think. Instead of waiting for the oven to preheat, you start with a cold oven and let the bacon heat up gradually. This method sounds backward at first, but it cuts cooking time in half and produces the crispiest bacon without any of the stovetop drama.
Why starting bacon in a cold oven changes everything
Most recipes tell you to preheat your oven first, then add the bacon. That means waiting around for 10 to 15 minutes while the oven reaches temperature, and then cooking the bacon for another 20 minutes or so. The cold oven method skips that waiting period entirely. You arrange your bacon on the baking sheet, slide it into the cold oven, set the temperature to 400°F or 425°F, and walk away. The bacon cooks as the oven heats up, and those early minutes with the hot heating element create extra crispy edges.
The gradual temperature increase also helps the bacon cook more evenly. When you put cold bacon into a screaming hot oven, the outside can crisp up before the inside renders properly. Starting cold gives the fat time to melt slowly while the meat cooks through. The result is bacon that’s crispy all over without any chewy or undercooked spots in the middle. Plus, you’re not heating up an empty oven for no reason, which seems like a waste anyway. This technique works whether you’re making a few strips for breakfast sandwiches or cooking multiple pounds for a brunch crowd.
Setting up your baking sheet the right way
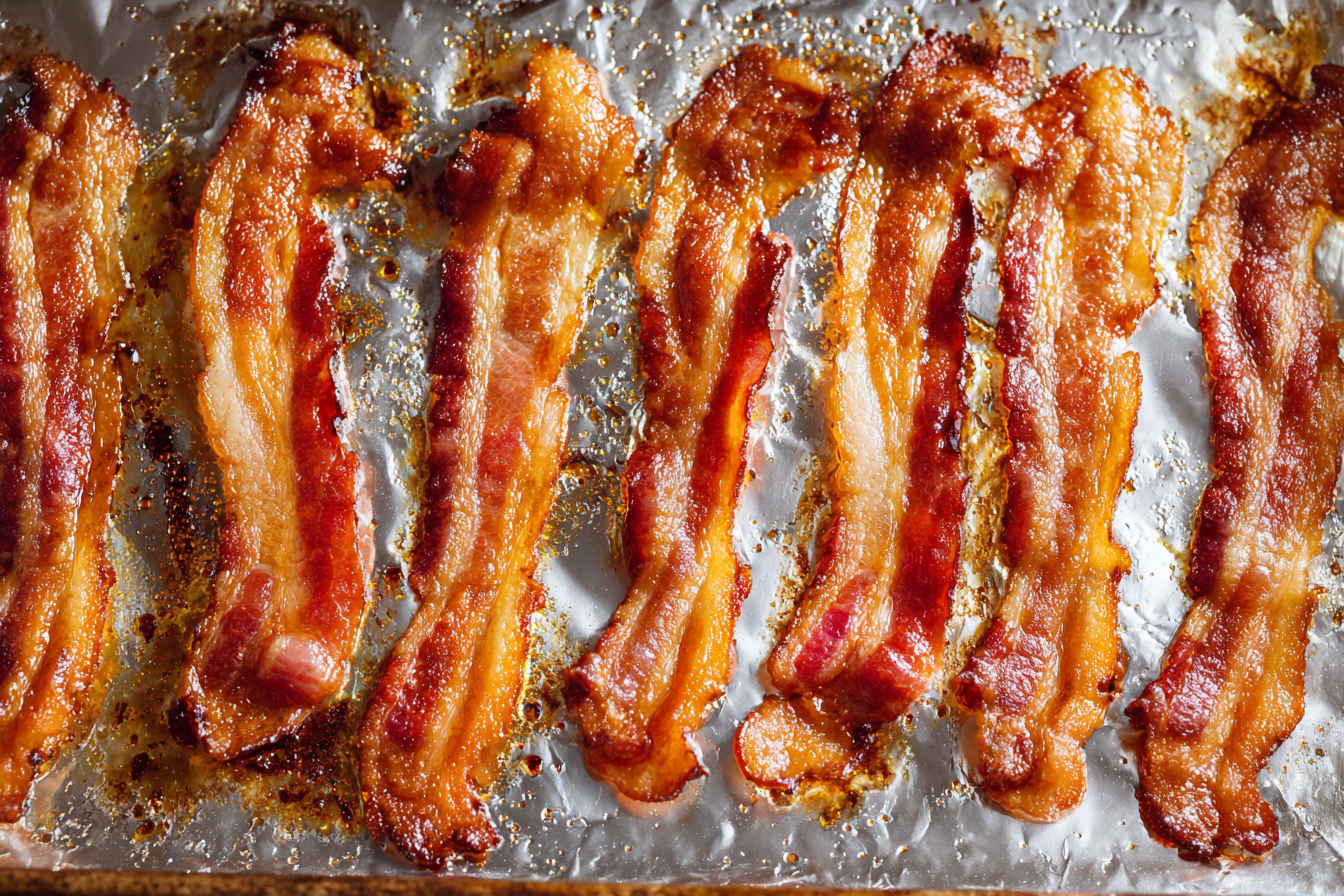
Before you even touch the bacon, line your rimmed baking sheet with aluminum foil or parchment paper. Make sure whatever liner you choose has overhang on all four sides. This isn’t just about cleanup, though that’s definitely a bonus. The overhang contains all that rendered bacon fat so it doesn’t drip into your oven and smoke up your kitchen. Heavy duty foil works particularly well because the grease solidifies on it as it cools, making cleanup as simple as folding up the foil and tossing it in the trash.
Some people prefer using parchment paper instead of foil, and both work equally well for containing the grease. The main difference is that fat tends to solidify more firmly on aluminum foil, while parchment absorbs some of it. Either way, you’ll avoid the nightmare of scrubbing baked-on bacon grease off your pan. A standard rimmed baking sheet (also called a sheet pan or half sheet) can hold about a pound of regular bacon or slightly less if you’re using thick-cut. The strips shrink significantly as they cook, so you can pack them in pretty tightly at the start.
How to arrange bacon for even cooking
Lay your bacon strips in a single layer across the prepared baking sheet. The slices can touch each other or sit really close together since they’ll shrink considerably, but don’t let them overlap. Overlapping pieces stick together and create spots that won’t crisp up properly. If you’re working with a full pound of bacon, it might look impossibly crowded at first, but trust the process. As the fat renders and the bacon shrinks, everything will have plenty of room to cook evenly and get crispy.
For regular bacon, you can fit about 12 to 16 strips on a standard baking sheet depending on their length. Thick-cut bacon takes up more room, so you’ll probably fit closer to 10 to 12 pieces. If you need to cook more than fits on one sheet, you can actually bake two sheets at once in most ovens. Just rotate them halfway through cooking so both batches get equal exposure to the heating elements. Some people like to arrange their bacon in neat rows, while others just lay it out however it fits. Either way works fine as long as nothing overlaps.
Temperature and timing for different bacon types
Once your bacon is arranged, slide the baking sheet into the cold oven and set it to 400°F or 425°F. At 425°F, regular bacon usually takes about 15 to 20 minutes total, while thick-cut needs closer to 20 to 25 minutes. If you set the temperature to 400°F instead, add about 5 minutes to those times. The exact duration depends on how crispy you want your bacon and how thick it is to begin with. Start checking around the 15-minute mark for regular bacon or 18 minutes for thick-cut.
Turkey bacon follows similar timing but tends to cook a bit faster than pork bacon because it has less fat to render. Keep in mind that bacon continues to crisp up slightly after you remove it from the oven, so pull it out when it looks almost done rather than waiting until it’s your perfect shade of brown. The bacon will sizzle and bubble as it cooks, with the fat rendering off and pooling around the strips. That’s completely normal and actually helps the bacon get crispy on the bottom. Don’t worry about flipping the strips during cooking because the hot fat bastes the top surfaces.
Checking for doneness without burning yourself
After about 15 minutes, start peeking at your bacon every couple of minutes. Open the oven door carefully because steam and hot air will billow out. Look at the color and texture of the bacon without touching it yet. When it reaches a deep golden brown and the fat looks translucent and bubbly, it’s ready. If you prefer softer bacon with a little chew in the middle, pull it out on the earlier side. For bacon that shatters when you bite it, let it go a few extra minutes until it’s darker brown.
The bacon will continue cooking for about a minute after you remove the pan from the oven, so factor that into your timing. Some pieces might cook faster than others depending on their thickness and position on the pan. That’s fine – just use tongs to remove the done pieces first and let the rest cook for another minute or two. The rendered fat in the pan will be extremely hot, so be careful not to slosh it around when you’re moving the baking sheet. Once everything looks good, turn off the oven and transfer the bacon to a paper towel-lined plate.
Using a wire rack for extra crispy results
Want bacon that’s crispy from edge to edge with no chewy spots? Try placing an oven-safe wire cooling rack on top of your foil-lined baking sheet before arranging the bacon. The rack lifts the bacon up off the pan so hot air circulates all around each strip and the fat drips down below. This method produces bacon that’s uniformly crispy instead of crispy on the edges but softer in the middle. The downside is that wire racks can be annoying to clean since bacon fat and tiny bits get stuck in the grid.
If you decide to use a rack, make sure it’s actually oven-safe and not just designed for cooling cookies. Some wire racks have a nonstick coating that can break down at high temperatures. Check the packaging or manufacturer’s website to confirm it can handle 400°F or higher. You’ll still use the cold oven method with a rack – just arrange the bacon on the rack instead of directly on the foil. The timing stays roughly the same, though bacon on a rack sometimes cooks a minute or two faster since it gets heat from all sides. Watch it closely starting around 12 to 13 minutes.
What to do with all that bacon grease
After you’ve transferred the cooked bacon to a paper towel-lined plate, you’re left with a baking sheet full of hot rendered fat. If you cook regularly, save that bacon grease instead of throwing it away. Let it cool for about 5 minutes until it’s no longer dangerously hot, then carefully pour it through a fine mesh strainer into a glass jar or metal container. Once it cools completely, cover it and store it in the refrigerator where it’ll keep for months. Bacon grease is fantastic for cooking eggs, roasting vegetables, making cornbread, or frying just about anything.
If you don’t want to save the grease, let it solidify completely on the baking sheet before dealing with it. This usually takes 20 to 30 minutes at room temperature or faster if you stick the whole pan in the fridge. Once the fat is solid, you can fold up the foil around it and throw everything away without risking a grease spill in your trash can or down your drain. Never pour hot bacon grease down the sink because it’ll solidify in your pipes and cause major plumbing problems. Even if you run hot water after it, the grease will eventually cool and create blockages.
Storing and reheating leftover oven bacon
Cooked bacon keeps surprisingly well in the refrigerator for up to a week when stored properly. Let the bacon cool completely, then stack the strips in an airtight container with paper towels between the layers to absorb any excess grease. You can also freeze cooked bacon for up to a month. Freeze individual strips on a baking sheet first, then transfer them to a freezer bag once they’re solid. This prevents them from sticking together so you can grab just one or two pieces when you need them.
Reheating bacon is easy in the microwave, oven, or even a skillet. For microwave reheating, place a few strips on a paper towel-lined plate and heat for 15 to 30 seconds until warm. The microwave actually crisps up bacon nicely if it got a little soft in the fridge. For the oven, spread the bacon on a baking sheet and warm at 350°F for about 5 minutes. Skillet reheating takes just a minute or two over medium heat. Having pre-cooked bacon in the fridge is incredibly convenient for quick breakfast sandwiches, topping salads, crumbling into pasta, or making BLTs for lunch.
Common mistakes that mess up oven bacon
The biggest mistake people make with oven bacon is overcrowding the pan with overlapping strips. When bacon pieces overlap, they stick together and the covered areas stay pale and undercooked while the exposed parts get crispy. Another common error is forgetting to line the pan. Baked-on bacon grease is incredibly difficult to scrub off, and you’ll spend way more time cleaning than the bacon took to cook. Some people also crank the temperature too high thinking it’ll speed things up, but anything over 425°F tends to burn the edges before the middle cooks through.
Walking away and forgetting about the bacon is easier than you’d think since this method is so hands-off. Set a timer for 15 minutes so you remember to check on it, especially the first few times until you get a feel for how your particular oven cooks bacon. Every oven is slightly different, and factors like altitude and humidity can affect cooking time too. Also, don’t try to save time by cooking bacon on a regular baking sheet without raised edges. The rendered fat will drip over the sides into your oven, creating smoke and a huge mess. Always use a rimmed baking sheet or sheet pan with at least a half-inch lip all the way around.
Once you’ve tried the cold oven method, you’ll probably never go back to cooking bacon on the stovetop. It’s genuinely easier, creates less mess, and produces more consistent results than pan-frying. Plus, you can cook enough bacon for a whole family or crowd without standing over the stove for half an hour. The method works just as well whether you’re making breakfast for two or meal-prepping bacon for the entire week ahead. Give it a shot next weekend and see for yourself.
Cold Oven Crispy Bacon
Cuisine: American4
servings5
minutes20
minutes43
kcalSkip the stovetop mess and make perfectly crispy bacon by starting it in a cold oven for foolproof results every time.
Ingredients
12 ounces bacon (regular or thick-cut)
Heavy duty aluminum foil or parchment paper
Directions
- Line a rimmed baking sheet with heavy duty aluminum foil or parchment paper, making sure there is overhang on all four sides to catch the rendered bacon fat. This will make cleanup much easier and prevent grease from dripping into your oven.
- Arrange the bacon strips in a single layer on the prepared baking sheet. The strips can touch each other or be very close together since they will shrink as they cook, but make sure they don’t overlap or they will stick together and won’t crisp evenly.
- Place the baking sheet with the bacon into the cold oven on the middle rack. Do not preheat the oven first. Set the oven temperature to 425°F and start the timer for 15 minutes. The gradual temperature increase helps the bacon cook evenly and creates extra crispy edges.
- After 15 minutes, check the bacon by carefully opening the oven door. For regular bacon, it should be getting crispy and golden brown. If you prefer softer bacon, remove it now. For crispier bacon or if using thick-cut, continue cooking for 3 to 5 more minutes, checking every minute or two.
- Once the bacon reaches your desired level of crispiness with deep golden-brown color and translucent, bubbly fat, turn off the oven. Use tongs to carefully transfer the bacon strips to a paper towel-lined plate. The bacon will continue to crisp up slightly as it cools.
- Let the rendered bacon fat cool on the baking sheet for about 5 minutes before handling. If you want to save the bacon grease for cooking, carefully pour it through a fine mesh strainer into a heatproof container once slightly cooled. Otherwise, let it solidify completely, then fold up the foil and discard.
- Serve the bacon immediately while hot and crispy. Store any leftover bacon in an airtight container with paper towels between layers in the refrigerator for up to one week. Reheat in the microwave for 15 to 30 seconds or in a 350°F oven for about 5 minutes.
Notes
- For extra crispy bacon, place an oven-safe wire cooling rack on top of the foil-lined baking sheet and arrange the bacon on the rack. This allows air to circulate all around each strip.
- Thick-cut bacon typically takes 20 to 25 minutes total, while regular bacon is usually done in 15 to 20 minutes. Start checking at 15 minutes regardless of thickness.
- You can cook two baking sheets of bacon at once by placing them on different oven racks. Rotate the pans halfway through cooking for even results.
- Never pour hot bacon grease down the sink as it will solidify in your pipes and cause clogs. Always let it cool and dispose of properly or save for cooking.
- If cooking at 400°F instead of 425°F, add about 5 minutes to the total cooking time.
Frequently asked questions about oven bacon
Q: Can I cook bacon in the oven at a lower temperature like 350°F?
A: Yes, you can cook bacon at 350°F, but it will take significantly longer – around 30 to 35 minutes for regular bacon and up to 40 minutes for thick-cut. The cold oven method works best at 400°F to 425°F for optimal crispiness and reasonable cooking time.
Q: Do I need to flip the bacon halfway through cooking?
A: No, you don’t need to flip bacon when cooking it in the oven. The hot rendered fat bastes the top of the bacon while it cooks, and the bottom gets crispy from direct contact with the pan. Flipping is unnecessary and just creates extra work.
Q: How do I know when my bacon is done without overcooking it?
A: Start checking your bacon around the 15-minute mark by opening the oven and looking at the color. When it’s deep golden brown with translucent, bubbly fat, it’s ready. Remember that bacon continues to crisp up slightly after you remove it from the oven, so pull it out just before it reaches your ideal doneness.
Q: Can I use this method with turkey bacon or does it only work with pork bacon?
A: The cold oven method works great with turkey bacon, though it typically cooks a bit faster since it contains less fat. Start checking turkey bacon around 12 to 13 minutes as it can go from done to overdone quickly. The same principles apply for arrangement and temperature.