
Most people think tuna melts are just cafeteria food or quick lunch counter options, but this sandwich can actually be transformed into something that rivals the best grilled cheese. The secret lies in understanding that every component matters – from the type of tuna you choose to how you layer the ingredients and even which cheese melts best. Once you master these techniques, regular tuna melts will taste bland and boring in comparison.
Oil-packed tuna beats water-packed every time
Water-packed tuna might seem like the healthier choice, but it creates soggy, flavorless tuna melts that fall apart. Oil-packed tuna stays moist during cooking and has a richer taste that stands up to melted cheese and toasted bread. The oil also helps bind the tuna salad mixture together, preventing it from sliding out of your sandwich when you take a bite.
Albacore tuna works better than regular light tuna because it has larger, meatier chunks that don’t turn to mush. Quality matters when it comes to canned fish – splurge a little on brands that use whole fillets rather than scraps. Drain the oil but don’t rinse the tuna, as you want to keep some of that richness for the best texture and taste.
American cheese melts better than fancy alternatives
Sharp cheddar and Swiss might sound more sophisticated, but American cheese creates the perfect melt every single time. It has a lower melting point and contains emulsifiers that prevent it from breaking or becoming stringy when heated. This means you get that creamy, gooey layer that makes tuna melts so satisfying without any of the greasiness that harder cheeses can create.
Don’t feel embarrassed about using processed cheese – even high-end restaurants know that American cheese works best for melting applications. If you want to upgrade from basic Kraft Singles, try Cooper’s or other deli-counter American cheeses that have better flavor while maintaining those superior melting properties. The key is getting full coverage so every bite has that perfect cheese-to-tuna ratio.
Kewpie mayo makes everything creamier
Regular mayonnaise works fine, but Japanese Kewpie mayo takes tuna salad to another level with its richer, more complex taste. It’s made with only egg yolks instead of whole eggs, which creates a silkier texture that coats the tuna better. The slightly sweet, tangy flavor also complements the fish without overpowering it like some heavier American mayos can do.
Most grocery stores now carry Kewpie in their international aisles, and it’s worth seeking out for any tuna or egg salad recipes. The difference is noticeable immediately – your tuna mixture will be creamier and more cohesive. If you can’t find Kewpie, add a tiny bit of sugar and rice vinegar to regular mayo to approximate that distinctive taste.
Dill pickles add more crunch than celery
Celery is the traditional choice for adding crunch to tuna salad, but diced dill pickles provide both texture and a bright, acidic pop that cuts through the richness. The pickles hold their crunch better during cooking and won’t make your sandwich watery like celery sometimes can. Plus, that vinegar tang wakes up your taste buds and makes each bite more interesting.
Chop the pickles small enough that they distribute evenly but large enough to provide noticeable texture contrast. Baby dill pickles work great because they’re already the right size and tend to be crispier than larger varieties. Adding pickle juice to the tuna mixture amplifies this effect – just a tablespoon gives you extra tang without making things too wet.
Sourdough bread handles the weight better
Thin sandwich bread gets soggy and falls apart when loaded with tuna salad and cheese. Sourdough has the perfect balance of structure and flavor – it’s sturdy enough to hold everything together but still toasts up crispy on the outside. The slight sourness also complements the tuna without competing with it like some heartier breads can.
Look for sourdough that’s sliced about half an inch thick – any thinner and it won’t support the fillings, any thicker and it overwhelms the sandwich. Rye bread also works well if you want something with a bit more personality. English muffins create individual-sized portions that toast beautifully and have built-in texture from all those nooks and crannies.
Start cooking cheese-side down for better melting
Most people put the sandwich in the pan randomly, but starting with the cheese side down ensures it melts completely while the first side crisps up. The direct heat from the pan melts the cheese faster and more evenly than trying to rely on residual heat from flipping. This technique prevents those disappointing bites where the cheese is still cold and rubbery.
Keep the heat at medium to give the cheese time to melt without burning the bread. Press down gently with a spatula to ensure good contact between the pan and sandwich. If you’re using a harder cheese that’s more stubborn about melting, cover the pan with a lid for the first minute or two to trap heat and speed up the process.
Fresh dill beats dried every time
Dried dill tastes like dusty grass compared to the bright, almost citrusy flavor of fresh dill. It doesn’t take much – just a few tablespoons of chopped fresh dill transforms ordinary tuna salad into something that tastes restaurant-quality. The herb pairs naturally with fish and adds a sophisticated touch that most home cooks skip.
Fresh dill stays good in the refrigerator for about a week, so buy a bunch and use it in other dishes too. Chop it finely so it distributes evenly throughout the tuna mixture. If you absolutely can’t find fresh dill, use half the amount of dried and add some fresh lemon juice to brighten up the overall flavor profile.
Layer ingredients in the right order
The order you stack ingredients affects how well everything stays together and how evenly things cook. Start with tuna salad directly on the bread, then add tomato slices if using them, followed by onions, and finally the cheese on top. This arrangement keeps the bread from getting soggy and ensures the cheese can do its job holding everything in place.
Pat tomato slices dry with paper towels before adding them to prevent excess moisture from making the sandwich fall apart. The cheese acts like glue when it melts, so having it as the top layer helps bind all the other ingredients together. Don’t overstuff the sandwich – you want enough filling to be satisfying but not so much that it squirts out when you bite into it.
Butter the outside for perfect browning
Room temperature butter spreads more evenly than cold butter and creates better browning across the entire surface of the bread. Cold butter tears the bread and creates uneven spots that brown at different rates. Take your butter out of the fridge about 30 minutes before cooking, or soften it quickly by cutting it into small pieces.
Spread the butter all the way to the edges – any unbuttered spots will stay pale and chewy instead of getting crispy and golden. Don’t skip butter on both sides, even though it might seem excessive. The fat is what creates that irresistible crispy exterior that makes homemade tuna melts better than anything you can buy at a restaurant or deli.
Perfect tuna melts aren’t about following complicated recipes – they’re about understanding how each ingredient works and making smart choices about quality and technique. These small changes add up to create a sandwich that’s so much better than the sum of its parts that you’ll wonder why you ever settled for boring versions. Try these methods once and you’ll never go back to making tuna melts the old way.
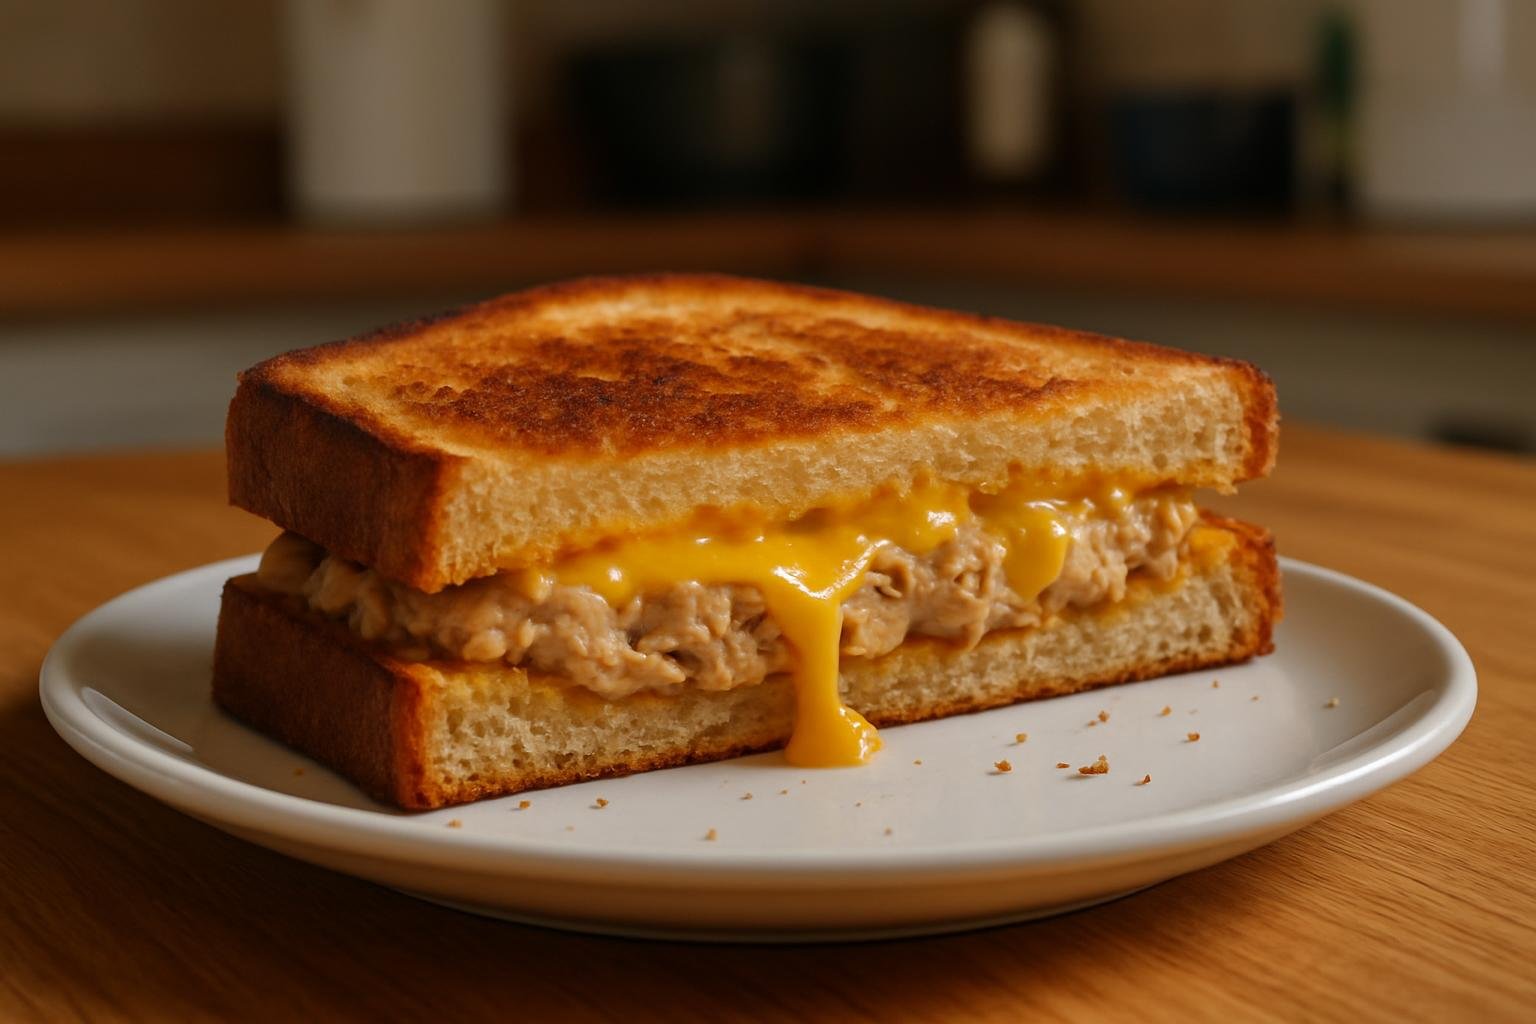
The Ultimate Tuna Melt
Cuisine: American4
servings15
minutes8
minutes450
kcalThis isn’t your average tuna melt – it’s loaded with perfectly seasoned tuna salad, melty cheese, and toasted to golden perfection.
Ingredients
2 cans (5 oz each) oil-packed tuna, drained
1/2 cup Kewpie mayonnaise
1 small red onion, finely chopped
1 celery stalk, finely chopped
3 dill pickles, finely diced
1/3 cup fresh dill, chopped
1 tablespoon pickle juice
1 tablespoon fresh lemon juice
8 slices sourdough bread
4 slices American cheese
3 tablespoons butter, room temperature
Freshly ground black pepper to taste
Directions
- Drain the tuna thoroughly and transfer to a large mixing bowl. Break up any large chunks with a fork but don’t mash it completely – you want some texture. Add the chopped red onion, celery, and diced pickles to the bowl.
- Add the Kewpie mayonnaise, fresh dill, pickle juice, and lemon juice to the tuna mixture. Stir everything together until well combined. Season with freshly ground black pepper and taste – adjust seasoning as needed.
- Spread room temperature butter evenly on one side of each bread slice, making sure to cover all the way to the edges. Turn the slices buttered-side down and divide the tuna mixture among 4 slices of bread.
- Place one slice of American cheese on top of the tuna mixture on each sandwich. Top with the remaining bread slices, buttered-side up. Gently press down on each sandwich to help everything stick together.
- Heat a large skillet or cast iron pan over medium heat. Once warm, place sandwiches cheese-side down in the pan. Cook for 3-4 minutes until the bottom is golden brown and the cheese starts melting.
- Carefully flip the sandwiches and cook for another 3-4 minutes until the second side is golden brown and crispy. Press down gently with a spatula to ensure even contact with the pan.
- Remove from heat and let the sandwiches rest for 1-2 minutes to allow the cheese to set slightly. This prevents the filling from spilling out when you cut them.
- Cut each sandwich diagonally with a sharp knife and serve immediately while the cheese is still warm and gooey. Serve with pickle spears and chips if desired.
Notes
- Oil-packed tuna creates a much richer, more flavorful sandwich than water-packed varieties
- Kewpie mayo can be found in most grocery stores’ international aisles – regular mayo works but won’t be as creamy
- Room temperature butter is crucial for even spreading and browning
- Starting cheese-side down ensures proper melting before the bread burns
- Tuna salad mixture can be made up to 3 days ahead and stored in the refrigerator
Frequently asked questions
Q: Can I make the tuna salad mixture ahead of time?
A: Yes! The tuna mixture actually tastes better after sitting for a few hours because the flavors have time to blend. Store it covered in the refrigerator for up to 3 days. Just assemble and cook the sandwiches fresh when you’re ready to eat.
Q: What if I can’t find Kewpie mayonnaise?
A: Regular mayonnaise works fine, though the texture won’t be quite as creamy. To get closer to Kewpie’s flavor, add a tiny pinch of sugar and a few drops of rice vinegar to regular mayo. Hellmann’s or Duke’s are good alternatives.
Q: Why does my cheese never melt properly?
A: You’re probably using too high heat or the wrong type of cheese. Keep the pan at medium heat and use American cheese, which melts much better than harder cheeses. Starting the sandwich cheese-side down also helps ensure proper melting.
Q: Can I use different types of bread?
A: Absolutely! Rye bread, English muffins, or even thick-cut Texas toast all work well. Just make sure the bread is sturdy enough to hold the filling without getting soggy. Avoid thin sandwich bread that will fall apart.