

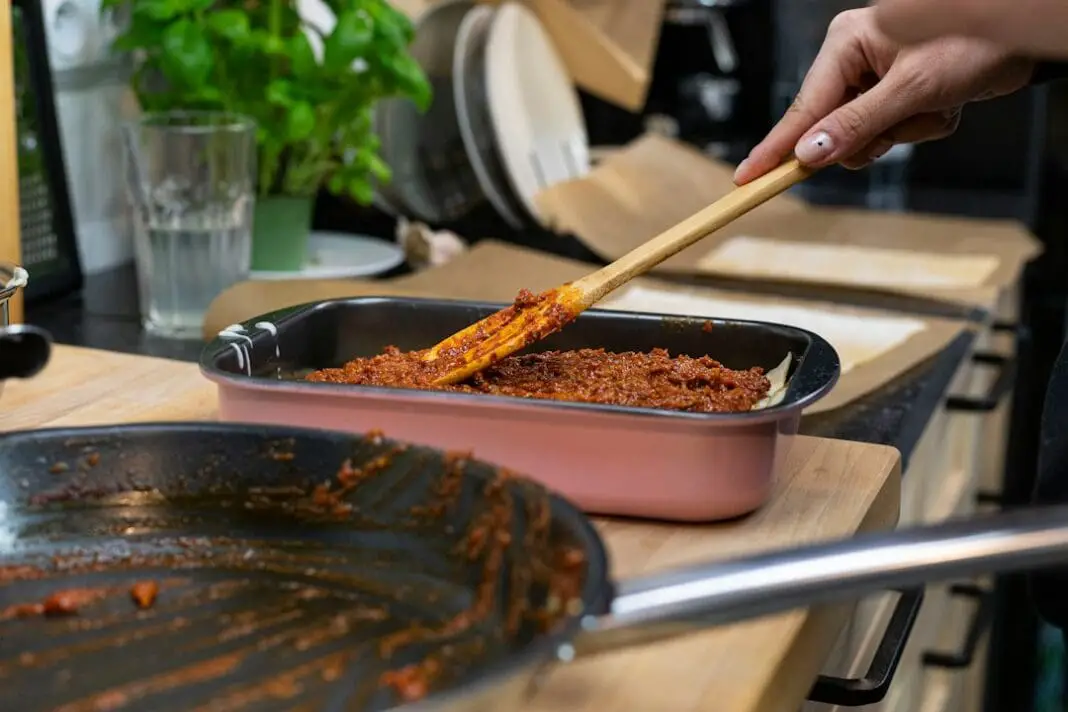
It is 5:40 on a Tuesday, the kids need to eat, and dinner is currently a frost-covered brick. So you run it under the tap, microwave one corner into gray mush, scrape at it with a fork, and forty minutes later you finally have taco meat. All of that is avoidable, and the fix happens on the day you buy the beef, not the day you cook it. Cook it first, then freeze it.
Browned, drained, cooled crumbles go into the freezer flat and come out ready to work. No thaw cycle, no waiting. Frozen crumbles can go straight into the slow cooker in the morning or into a hot pan with sauce, and dinner lands in about 20 minutes.
If you are dead set on freezing it raw, there is still one thing you never skip: get it out of the store tray and press it flat. More on that below, along with the mistakes that quietly ruin a freezer stash.
Brown It In One Big Batch, Then Bag It
The math on this is hard to argue with. Browning up to 10 pounds of ground beef takes only about 15 to 20 minutes of actual cooking, and the rest is just waiting for it to cool. That is one afternoon of work that covers a month of weeknights.
Cooks who buy beef in bulk when it drops in price and brown it all at once say the payoff shows up on the nights you have nothing left in the tank. Chili means dumping frozen crumbles in with the onions, tomato sauce and beans, adding a little water, and the meat thaws in the pan in minutes. Tacos mean reheating and adding seasoning. A slow cooker meal means the crumbles go in frozen at 7 a.m.
Leave it plain. Unseasoned crumbles can turn into spaghetti sauce, sloppy joes, taco salad, a rice skillet or a casserole. Season the whole batch for tacos and you have committed 10 pounds of beef to tacos.
Cool It All The Way Down Before It Touches A Bag
This is the step people skip, and it is the one that decides whether your crumbles taste like beef in March. Hot meat dropped into a plastic bag softens the plastic and throws off steam, and that steam turns into ice crystals inside the bag.
Move the pan to a cool burner, spread the meat out, and stir it now and then so it gives up its heat faster. In about 15 to 20 minutes it should be warm or room temperature, not hot, and ready to portion into bags. For a big batch, spread the beef into a 9×13 pan or a jelly roll pan, cover it loosely with foil, and put it in the fridge until it is completely cool. Shallow containers pull heat out much faster than a deep bowl. If you wander off to do something else, the meat goes in the refrigerator, not on the counter.
Leave The Salt Out Of The Skillet
Nebraska Extension is blunt about this one: do not salt beef crumbles you plan to freeze, because salt can speed up unwanted flavor changes in the meat. Add it later, when the beef becomes an actual dinner.
Freezing also dulls spices and herbs, so whatever you do add in the pan will taste weaker coming out. Plan on topping up the seasoning at the reheat.
Two things do help while the beef browns. Cooking the crumbles with chopped onion or unroasted bell pepper slows those flavor changes down. So does freezing the meat inside a sauce, as long as the sauce covers every bit of the surface. Some batch cooks go the seasoned route anyway, browning the beef with onion in olive oil plus black pepper and a splash of Worcestershire sauce, which is great if you already know it is becoming sloppy joes. You are trading flexibility for a head start.
Don’t Overload The Pan
Piling five pounds into one skillet does not speed anything up. As ground beef cooks it releases juices, and a crowded pan traps that moisture and steams the meat instead of browning it. For the best result, brown no more than 1 pound at a time in a large nonstick skillet over medium heat, 8 to 10 minutes, breaking the beef into crumbles about ¾ inch across, until no pink is left and a thermometer reads 160°F.
Big-batch cooks working a large pot usually cap it at 2 to 3 pounds per go, because more than that simply takes too long to brown. Either way, work in rounds and park the finished meat in a pan while the next load cooks.
One number worth knowing before you portion: 16 ounces of raw ground beef comes out as roughly 12 ounces of cooked crumbles. Your one-pound bags will weigh less than a pound, which is why the simplest approach is to divide by what you started with. Ten pounds raw, ten bags.
Drain The Grease, But Not Bone Dry
A colander or a slotted spoon works. So does blotting it right in the pan: push the cooked meat to one side, tilt the pan so the fat pools in the empty half, then lower a folded paper towel into the puddle and press it with tongs or a second spatula, keeping your fingers clear. With 80/20 beef that takes around four paper towels. With 85/15 or 90/10, fewer. Do not pour hot grease down the drain.
Stop before the pan looks scrubbed. Small shiny spots are fine, and that little bit of remaining fat is what keeps the crumbles from tasting like sawdust two months from now. You can also spread the beef onto a paper towel lined baking sheet and let the pan do double duty as a cooling rack.
Since drained crumbles are leaner than fresh beef, give them help on the way back out. A pat of butter, a drizzle of olive oil or a heavier hand with the cheese covers the difference.
Freezing It Raw? Press It Flat
Tossing the store tray straight into the freezer works, technically, and then you pay for it later while a two-inch slab sits in the fridge for a day. Take the meat out of its original wrapping, put it in a large freezer bag, and press it flat to about ½ inch thick. That squeezes out the air pockets that cause freezer burn, cuts the thawing time way down, and the flat packs stack like books instead of rolling around.
There is a slicker version for cooks who only need half a pound at a time. Flatten the bagged beef with a rolling pin, then press dividing lines into the meat with a chopstick or anything straight and blunt. Once it is frozen you snap off the piece you need and leave the rest solid.
Portion Before The First Freeze, Not After
Decide now how your household actually cooks. A family of two might want half-pound packs. A family of six might want one big bag per meal. Splitting it up front means you never thaw twice what you need.
The USDA does allow refreezing meat thawed in the refrigerator, as long as it stayed cold and you have not sat on it past its one to two days. But every trip through the freezer dries the meat out and roughs up the texture, so the best move is to never need the exception.
Freezer Bags, Not Storage Bags, And Get The Air Out
The box matters. Bags marked “freezer” are thicker than bags marked “storage,” and that extra thickness is what keeps flavor in and freezer smells out. Heavy-duty foil, plastic wrap and freezer paper all work too.
To get the air out without any gadget, zip the bag about three-quarters closed, leave a small gap at one corner, lay it flat on the counter, and press the meat from the bottom upward so the air escapes through that gap. Zip a little more, press again, then seal it.
Freeze the bags flat in a single layer and resist stacking them until they are solid, because a thin package freezes faster and holds its quality better. A metal pan or cookie sheet is a good landing spot. Once frozen, stand them upright in a bin like file folders and you can flip through your own beef inventory.
Label every bag with the date and what is inside, plus the amount if you know it. The date is the part that keeps a bag from turning into mystery meat at the bottom of the chest freezer.
Watch The Calendar
Raw ground beef sitting in the refrigerator should be used within two days. If you are not sure you will get to it, that is your cue to freeze it instead of hoping. The USDA recommends keeping raw ground beef frozen no longer than four months if you want it at its best.
Cooked crumbles get a tighter window for peak flavor. Nebraska Extension puts it at 2 to 3 months with the freezer at 0°F or lower, and the USDA’s figure for cooked beef is about four months. Keep the freezer cold and the bags well sealed and you will land on the long end of that.
When you do thaw, use the refrigerator or cold water. Cold water means a watertight bag, changed water every 30 minutes, and cooking it as soon as it is thawed rather than putting it back. The counter is not a thawing method, no matter how much of a hurry you are in. Reheat cooked crumbles to 165°F. Beef that has gone slimy or tacky, smells sour, or has turned gray or brown all the way through goes in the trash, not the freezer. Do not rinse it either: FoodSafety.gov advises against rinsing raw meat, because it spreads bacteria around the sink rather than removing them.
What Browning First Actually Costs You
Crumbles cannot become a burger. They cannot become meatballs or meatloaf either, because those need raw beef you can shape. That is the whole trade, and it is a small one.
Split the difference at the counter. Cut a big package roughly two-thirds and one-third, brown the larger share for the freezer, and keep the rest raw for tonight’s meatloaf or for a bag of patties. Eyeballing the line with a knife is fine; a kitchen scale is fine too if you like tidy numbers.
Our verdict: for anything with sauce, and for anything that goes in a slow cooker or a casserole dish, browning before freezing is the better habit by a mile, and cooked crumbles hold up in the freezer about as well as raw beef does. Twenty minutes at the stove on a Sunday buys back an hour of standing around on a Wednesday. That is the trade worth making.
